I love summer dresses, though in Singapore I don't have a choice- this is a country has no other seasons but summer. Anyway, gives me more excuse making colourful little dresses for my little one. Also in this tropical place, the best material ever is silk- a silky dress is just like another layer of natural skin for the baby!

I have these silk jumper for years, since I was still in the US and found this one on sale. So of course, it is not my size (way too big), but I love the pattern and the design. However, since it doesn't fit me, and especially now I have been breastfeeding, I feel I would never be able to wear this out.
We all have something in the closet like this, right? Yes it's pretty, but you would never pick it out for a date or, there will always be excuses not to wear it out...but, too pretty to throw away.
Okay, now luckily, I have a lovely baby girl and she will need this piece of adorable flower silk!
I don't have a pattern, but you can follow the tutorial to work on other materials.
Some tips for using silk:
1,if you are a first-time sewer or not very good at measuring, try to use paper patterns and cut with them. Otherwise silk it very hard to control.
2, if you are like me, don't want to give the comfortable material a inner layer ( I always think it is stupid to put polyester layers inside silk-the reason you dress silk is to make yourself more comfortable, but polyester stops it!), you'd better try not to sew zippers, because silk will be too fragile for holding zippers.
3, this one is for all who's also alter from old clothes: think before you cut, you will always find something useful on the old ones.
here you go!

step 1:
this is follow my tip No.3. I cut the waist band of my jumper and give each side a about half inch area. This one can turn into a perfect ruffle without extra work!
step 2:
front side. I gathered the middle first to decide how wide I should cut. Also remember we are not using any zippers, so make sure the front and back sides will be big enough to let your kid's head go through.

Step 3:
seam the sleeve part for the front side.
Step 4:
cut a back part. This time please match the size of your front side.

Step 5:
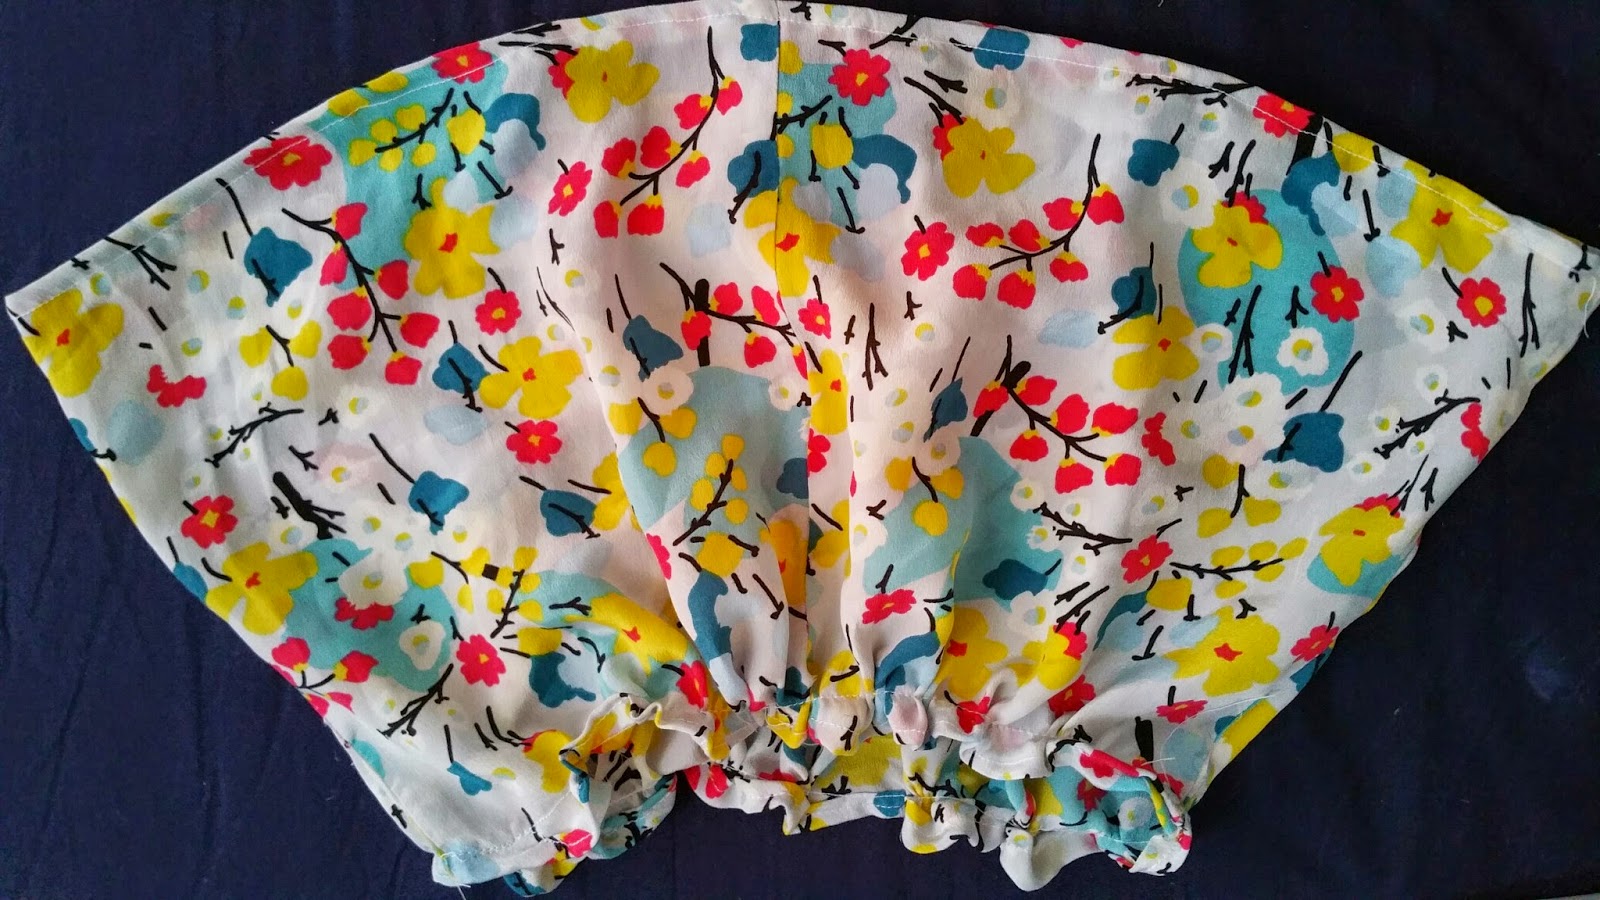
cut the bottom. Since we are gonna to gather, you need to make at least 1 and half times longer than the front side. and make two pieces and seam them together. I cheated since I have the top of my jumper, I just cut out the collar part and left the rest without extra sawing.
Step 6:
Gather the bottom. Since I want to match the ruffle, I gathered the bottom first.

Step 7:
Put the bottom and the top together. I put the bottom out of the front and back part also to match the ruffle I will put at the bottom of the dress later.
Step 8:
cut two short pieces out of the ruffle we made in Step 1, and sew them on the shoulders.

Step 9:
put the ruffle in step 1 to the bottom. Uh-oh, I don't have enough... So I just put on the front side... Anyway, not too bad for a stay-in-the-house dress.

Step 10:
since we will not have any zipper, so I put some elastic thread on the collar to hold them tight.
Step 11:
Now just seam all the collar, underarm part, and every single place that I haven't been able to mention... Also as using old clothes, I always try to take advantage of the seams-to save you some time!
Now the dress is finished! I will show how to do the flower and the hairband in the next post.